How to Grow Annuals from Seeds
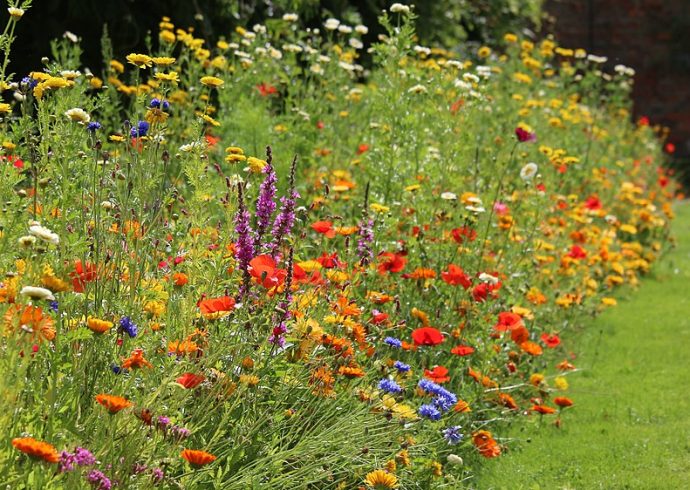
Annuals are a favorite with many gardeners who love to plant different flowers and watch them grow from seed each year. One does not need to have a green thumb to accomplish this, just some perseverance and a love for gardening. Nurseries, grocery stores, and many department stores have flower seed packets ready to be sold and planted, for a burst of color to decorate anyone’s yard. Best of all, there are many different annuals to choose from so if you have a favorite flower color, chances are it is available as an annual. A partial list of these annuals is below:
Alyssum, ageratum, bachelor button/cornflower, lobelia, nasturtium, snapdragons, portulaca, cosmos, marigold, morning glory, scabiosa/pincushion, and verbena.
On the back of each seed package is a diagram or table of the growing region and best time of year they can be planted in the ground, which is usually right after the last frost. Additional information includes the average heights the plants will grow. Take the heights of the plants into determination when you go to plant the seeds. You will most likely want the taller plants either in the very center of the garden, or at least behind the shorter plants so the shorter plants do not get hidden by the taller plants.
Before you start planting each seed, make a furrow in the dirt with either a wide blunt tipped stick or with your fingertip. Most seeds require a thin layer of soil covering them, while other seeds require full sunlight in order to germinate. When making the furrow, make sure there is a tiny wall of soil on both sides of where the seeds will be planted. Once you have sprinkled the seeds evenly through a single furrow, you can use these little “walls” to cover the seeds with.
For those seeds that require full sunlight, leave up the walls right after creating the furrows, then create little divisions inside that furrow. The purpose of doing this is twofold; one, it will keep the seeds in place when they are watered so the water does not wash the bare seeds away from the garden, and second, it will allow the young plants to root quicker. Make sure the little walls and divisions are packed tightly in place so they don’t blow all over the seeds.
Be creative with your furrows. Nothing has to be kept in perfect, neat, straight lines in a garden. Make circles, spirals, swirls, zigzags, or anything else you can think of. For a whimsical look, make a tic tac toe board complete with the “O’s” and “X’s”, with your side winning of course. Once your seeds are all set in their new homes, lightly water your seeds with a water sprinkler or with the hose on a gentle spray. Pay attention to those seeds living in divisions so their seeds do not get upswept by the water and travel into the lawn. Make sure the soil is moist but not overwatered.
Keep an eye on the garden each day, giving a light water if necessary. Most seeds germinate between seven to ten days with some variation. Once the young plants start to grow, thin out to allow for better growth. Fertilize the plants approximately ten weeks after the seeds have been planted.
Some of the more delicately stemmed flowers may require support, like the cosmos. Small Y-shaped sticks can be stuck in the ground next to each plant to provide support. A flower like the morning glory will require a trellis as it is a climbing plant. Your annuals will blossom throughout the summer and early fall.
Some flowers will attract pests, like the nasturtiums, so using a pesticide may be necessary to spray on the affected flowers. Always apply a pesticide after watering your plants or the pesticide will be washed off.
Keep in mind that annuals grow better when they are picked. Have lots of vases on hand so you can pick bunches of flowers and give them a home inside your house.