Create a Concertina Book
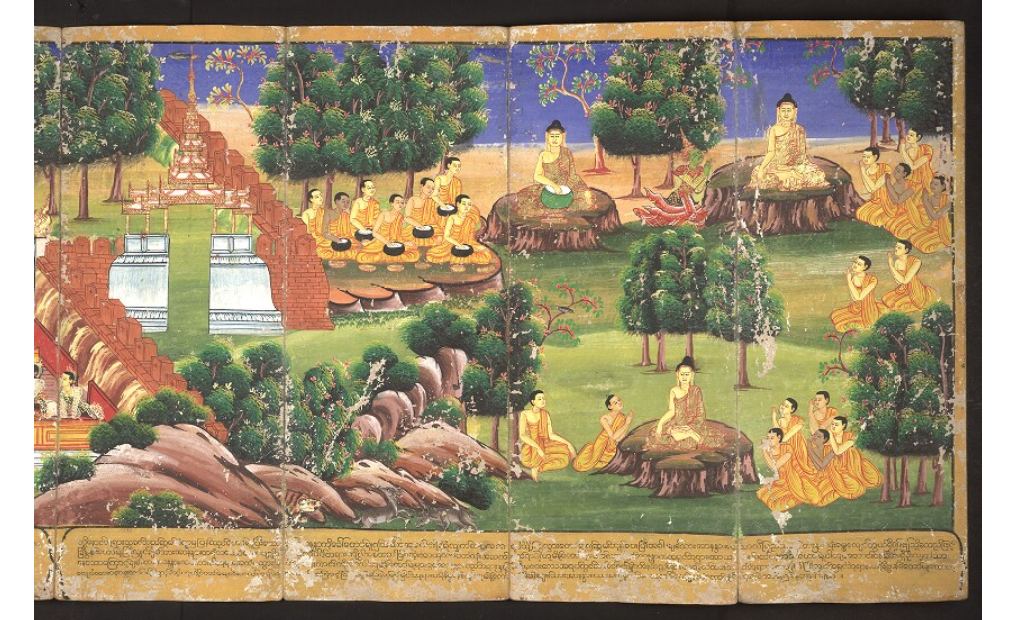
Originating in Asia, concertina folded books, also called accordion folded books, date as far back as the seventh century of our Common Era. In China, these books are called jingzhe zhuang, while in Myanmar, formerly named Burma, these books are known as parabeik. In Japan, concertina folded books were called orihon. Also made in Cambodia, concertina books were called kraing, while in neighboring Laos the books were called samut khoi. Thailand also produced these books, where they were known as samut thai, and in the northern part of the country, phap sa. Paper used in these books were made from a variety of sources: in Myanmar and Thailand, bamboo and palm leaves; in Cambodia, from the paper mulberry tree. In Japan, a variation of this style of folded book was known as sempuyo, which had the folds going in the same direction. While concertina books remained common in Asia to this day, Europe was another story. This book format remained very rare, with the first one being written with the Cyrillic alphabet in 1330.
Today, concertina books are often manufactured as novelties or souvenirs and consisting of a wide range of topics and objects, from postcards to children’s stories and works of art. When made by hand, they make great keepsakes for any friend or family member. The books can contain a simple message or story that is completely illustrated. By using a combination of paint, colored pens and pencils, cutouts, calligraphy pens and plenty of imagination, a one-of-a-kind concertina book can be made. The best part of making a concertina book is that you can make it any size you wish, selecting what paper to use for the covers, plus any colored paper, if desired, to create the folded pages.
You will need:
A piece of book binding board for the cover
Paper for the inside pages
Mat knife
Cutting mat
Bone folder
High-quality decorative paper for the covers
Ruler
Book glue
Glue brush
Figure out what sized book you want it to be. Our example for this project will be a 6″ by 9″ book. Spread out the piece of book binding board in front of you on the table and measure out two pieces this size. Cut out both pieces using the mat knife. Take the decorative paper for the covers and measure each one 7″ by 10″ in size. There should be 1/2″ on each side when the book binding board is placed directly in the center of the paper. This excess is necessary for folding over the edge of the covers. Miter the corners of the paper cover by tucking in each end so they do not stick out. Glue the paper securely to the book, using a bone folder to smooth out any bubbles if necessary.
The paper used for the inside the book can be white or off-white. The project is easiest to complete if the paper is pre-written and decorated before glueing to the inside covers. For an eight-page book, your paper will be 9″ wide by 48″ long. Fold the pages in an accordion fashion, making sure that once it is folded, each page is 6″ wide. Have the covers of the book set out before you, with the covered side down facing the table. With the glue brush, apply the book glue to the back of the first end page around the edges to the front cover, then repeat with the back cover. Again, smooth out any bubbles formed by the glue with the bone folder. Allow the glued papers to dry thoroughly. Once the accordion book is dry, you can fold up the pages. Create a design plus a title for the front cover. The book is now complete and ready to give to the recipient.
Image Credit: Concertina, or accordion folded Burmese picture book (parabeik). Book is on the Life of Buddha. From Myanmar (Burma), 18th century, Bodleian Libraries, University of Oxford.


